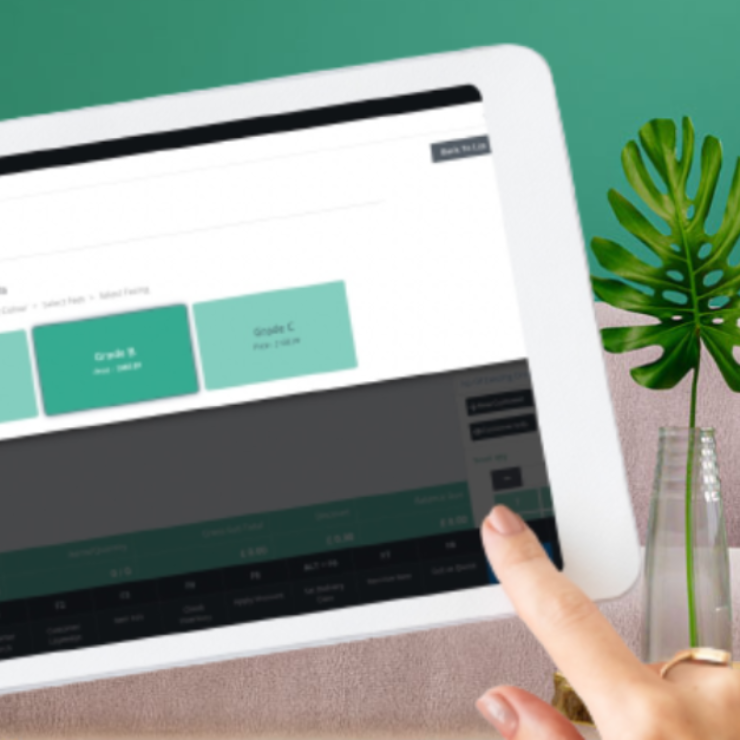
Nowadays, businesses use various kinds of tools, such as a point of sale system (POS), to track their earnings and expenses. With basic hardware and interfaces, point-of-sale systems may assist in automating financial transactions and increase overall operational productivity.
POS systems have more applications than just streamlining payment transactions, such as inventory management, employee management, loyalty programs, etc. All types of businesses that sell products should make use of POS systems in order to optimize their operations.
However, many retailers find setting up and using this POS technology a bit difficult. Hence, to help such furniture retailers, in this article, we will walk you through the step-by-step process of setting up a furniture point-of-sale software.
Step-By-Step Process to Set Up Furniture POS Software
Here is the step-by-step procedure for setting up and using an effective and reliable furniture POS system.
Step 1: Select a suitable POS system
The first step is to choose an effective POS system that aligns with your business objectives and is easily accessible. Ordorite’s POS software is one of the best point-of-sale systems having a plethora of features and functionalities.
If you run a furniture business, then Ordorite’s furniture retail management system is your reliable partner. It offers various functionalities besides financial transactions, including inventory tracking, warehouse management system, easy mobile integration, up-selling and link-selling products, user data management, and many more.
Moreover, it is easy to set up, requiring just 5 simple steps. Hence, it is simple to use yet offers powerful features and functionalities.
Step 2: Set up your account
For all point-of-sale systems, you must register with an email address associated with your company. You can complete this before the hardware arrives because the majority of systems these days are cloud-based.
To properly create your account and receive payment, you must provide a few details such as your business name, location(s), and bank account information.
Step 3: Connect the hardware
The hardware configuration depends on how complicated your system is, this may be as easy as plugging in a tablet and turning it on, or it might involve integrating a lot of various components and devices into your setup.
After everything is set up, the printer will print a receipt and activate the cash drawer when you book the sale using your touchscreen. You may configure the settings as per your chosen inventory control software, existing systems, and workflows.
Step 4: Add products
Every operation you perform with your furniture retail system will be based on your product library. All the information needed to monitor sales and inventory as well as to generate valuable analytics will be obtained from the product library. Hence, any mistake made while entering data could lead to discrepancies later on.
To begin with, you must create categories for every product. Next, in order to make each item or product easily found in the system, you’ll need to specify a unique name, tags, description, category, sales price, cost price, barcode, and many other factors.
Moreover, you can possibly bulk import data from a Microsoft Excel CSV file if you have a lot of products; this will help you add data and products much faster.
Step 5: Add user profiles
You may build user profiles for each team member in a furniture shop management system, and these profiles can be used to track login times and examine performances. To simplify the procedures, you can also choose each employee’s admin rights and access level.
Conclusion: Begin Using your POS System!
To conclude, integrating and using furniture retail management software for your furniture store will be quite easy with the aforementioned steps. With Ordorite’s POS system, you can leverage the benefits of an effective all-in-one point-of-sale system. Get in touch with us right now to find out how our cutting-edge solutions can support the growth of your company.


